Tips for Successfully Pouring a Concrete Patio
A concrete patio can be a stunning and durable addition to any home, providing an ideal space for outdoor entertainment and relaxation. However, ensuring that your concrete patio is long-lasting and aesthetically pleasing requires careful planning and execution. Whether you’re a DIY enthusiast or hiring a professional, understanding the essentials of successfully pouring a concrete patio will save you time, money, and frustration. At Concrete Contractors London, we specialize in creating high-quality concrete patios for homeowners across London, Ontario. To help you achieve the best results, here are some expert tips for a successful concrete patio project.
1. Plan and Prepare the Site Properly
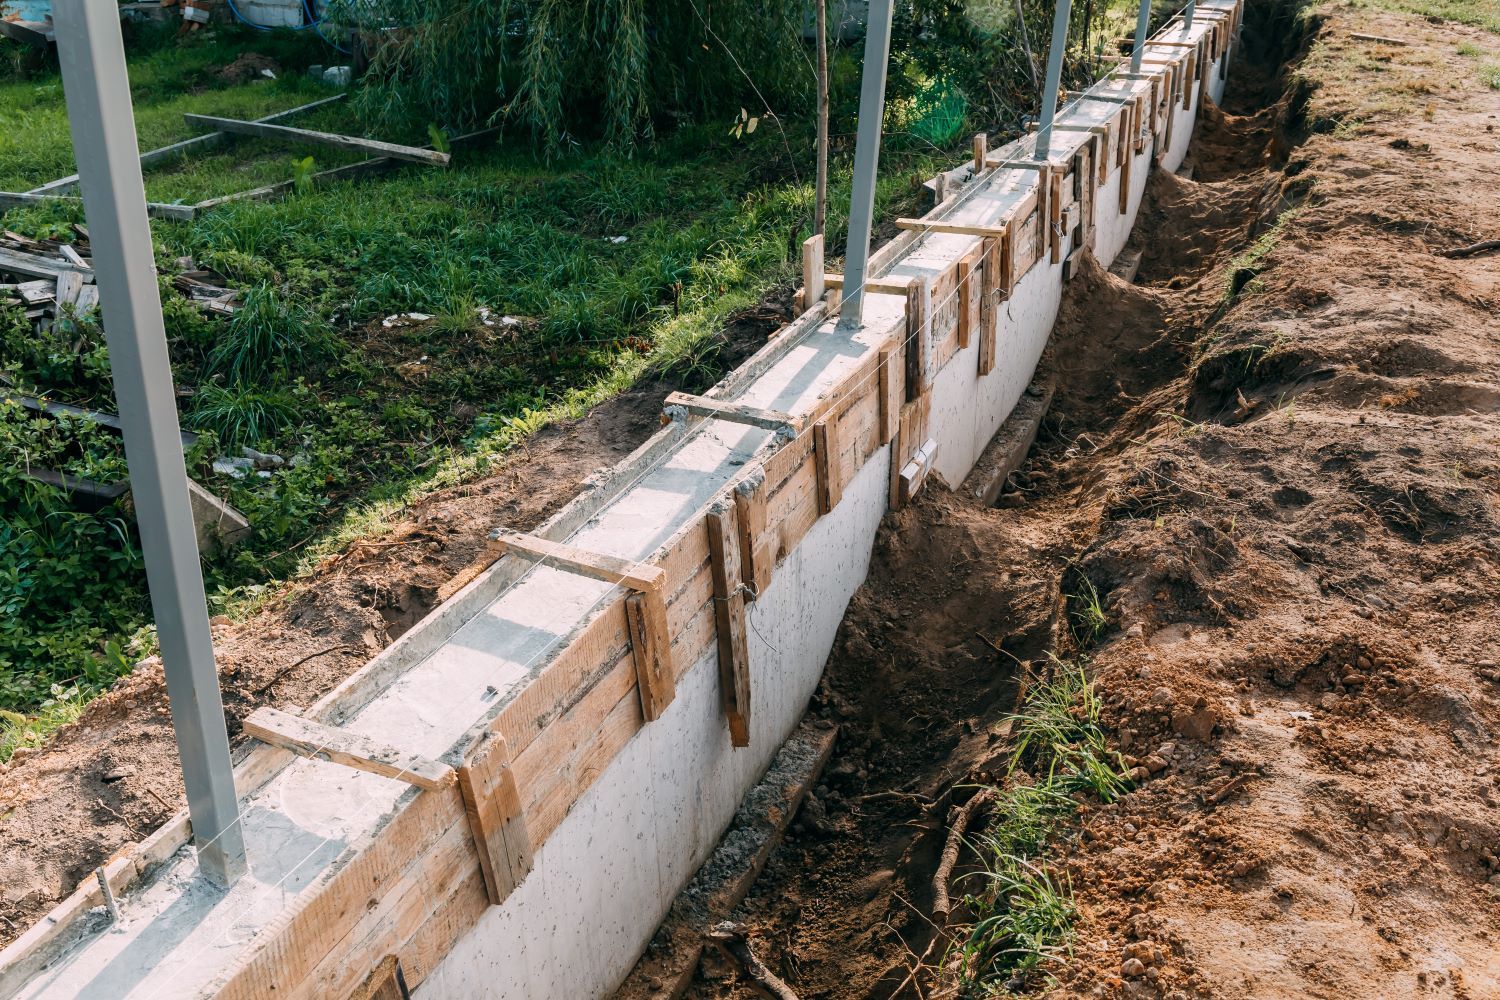
The first and most important step in pouring a concrete patio is planning the design and preparing the site. Consider factors like the size, shape, and purpose of your patio. Will it be used for dining, lounging, or both? Once you have your vision, here’s what you should do next:
- Mark out the area: Use stakes, string, or paint to mark the exact boundaries of your patio.
- Excavate the site: You’ll need to remove any grass, rocks, or debris from the area and dig down to a depth of 4 to 8 inches, depending on the thickness of your concrete.
- Ensure proper drainage: Sloping the patio slightly away from your home is critical to prevent water from pooling or damaging the foundation.
- Compact the soil: After excavation, compact the soil to create a stable base for the concrete, reducing the risk of cracking or shifting later on.
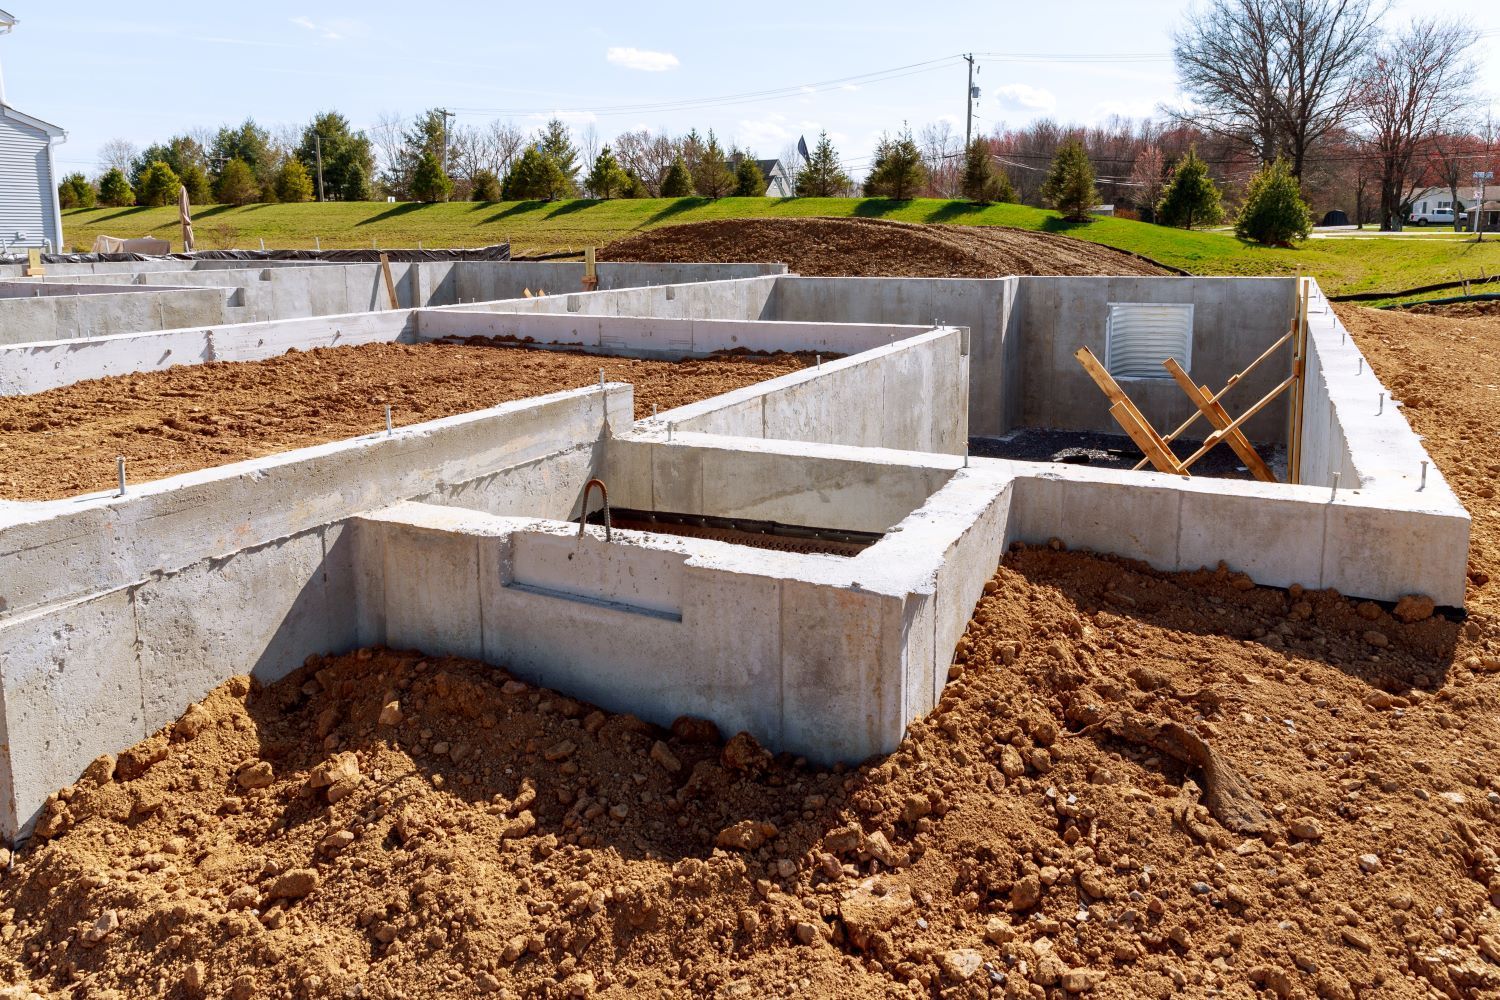
2. Lay a Solid Sub-Base
A stable sub-base is essential for ensuring the strength and longevity of your concrete patio. Gravel is the most commonly used material for a sub-base because it provides excellent support and allows for proper drainage. Spread a 4- to 6-inch layer of compacted gravel over the entire site, ensuring it’s level and evenly distributed.
For additional reinforcement, you may also want to add a layer of rebar or wire mesh on top of the gravel. This will help to strengthen the concrete, particularly in areas prone to heavy foot traffic or furniture.
3. Choose the Right Concrete Mix
The strength and durability of your patio largely depend on the quality of the concrete mix. A standard mix of concrete and water is typically sufficient, but you may want to consider adding special additives, depending on the weather conditions in London, Ontario.
- Air-entrained concrete: This type of concrete mix contains tiny air bubbles that allow it to expand and contract with freezing and thawing cycles, reducing the risk of cracks.
- Fiber-reinforced concrete: Adding fibers to the concrete mix can enhance its structural integrity, providing extra resistance to cracks and shrinkage.
Make sure the mix has the right consistency—not too wet or too dry. A slump test can be helpful here to ensure the concrete will flow easily but still hold its shape when poured.
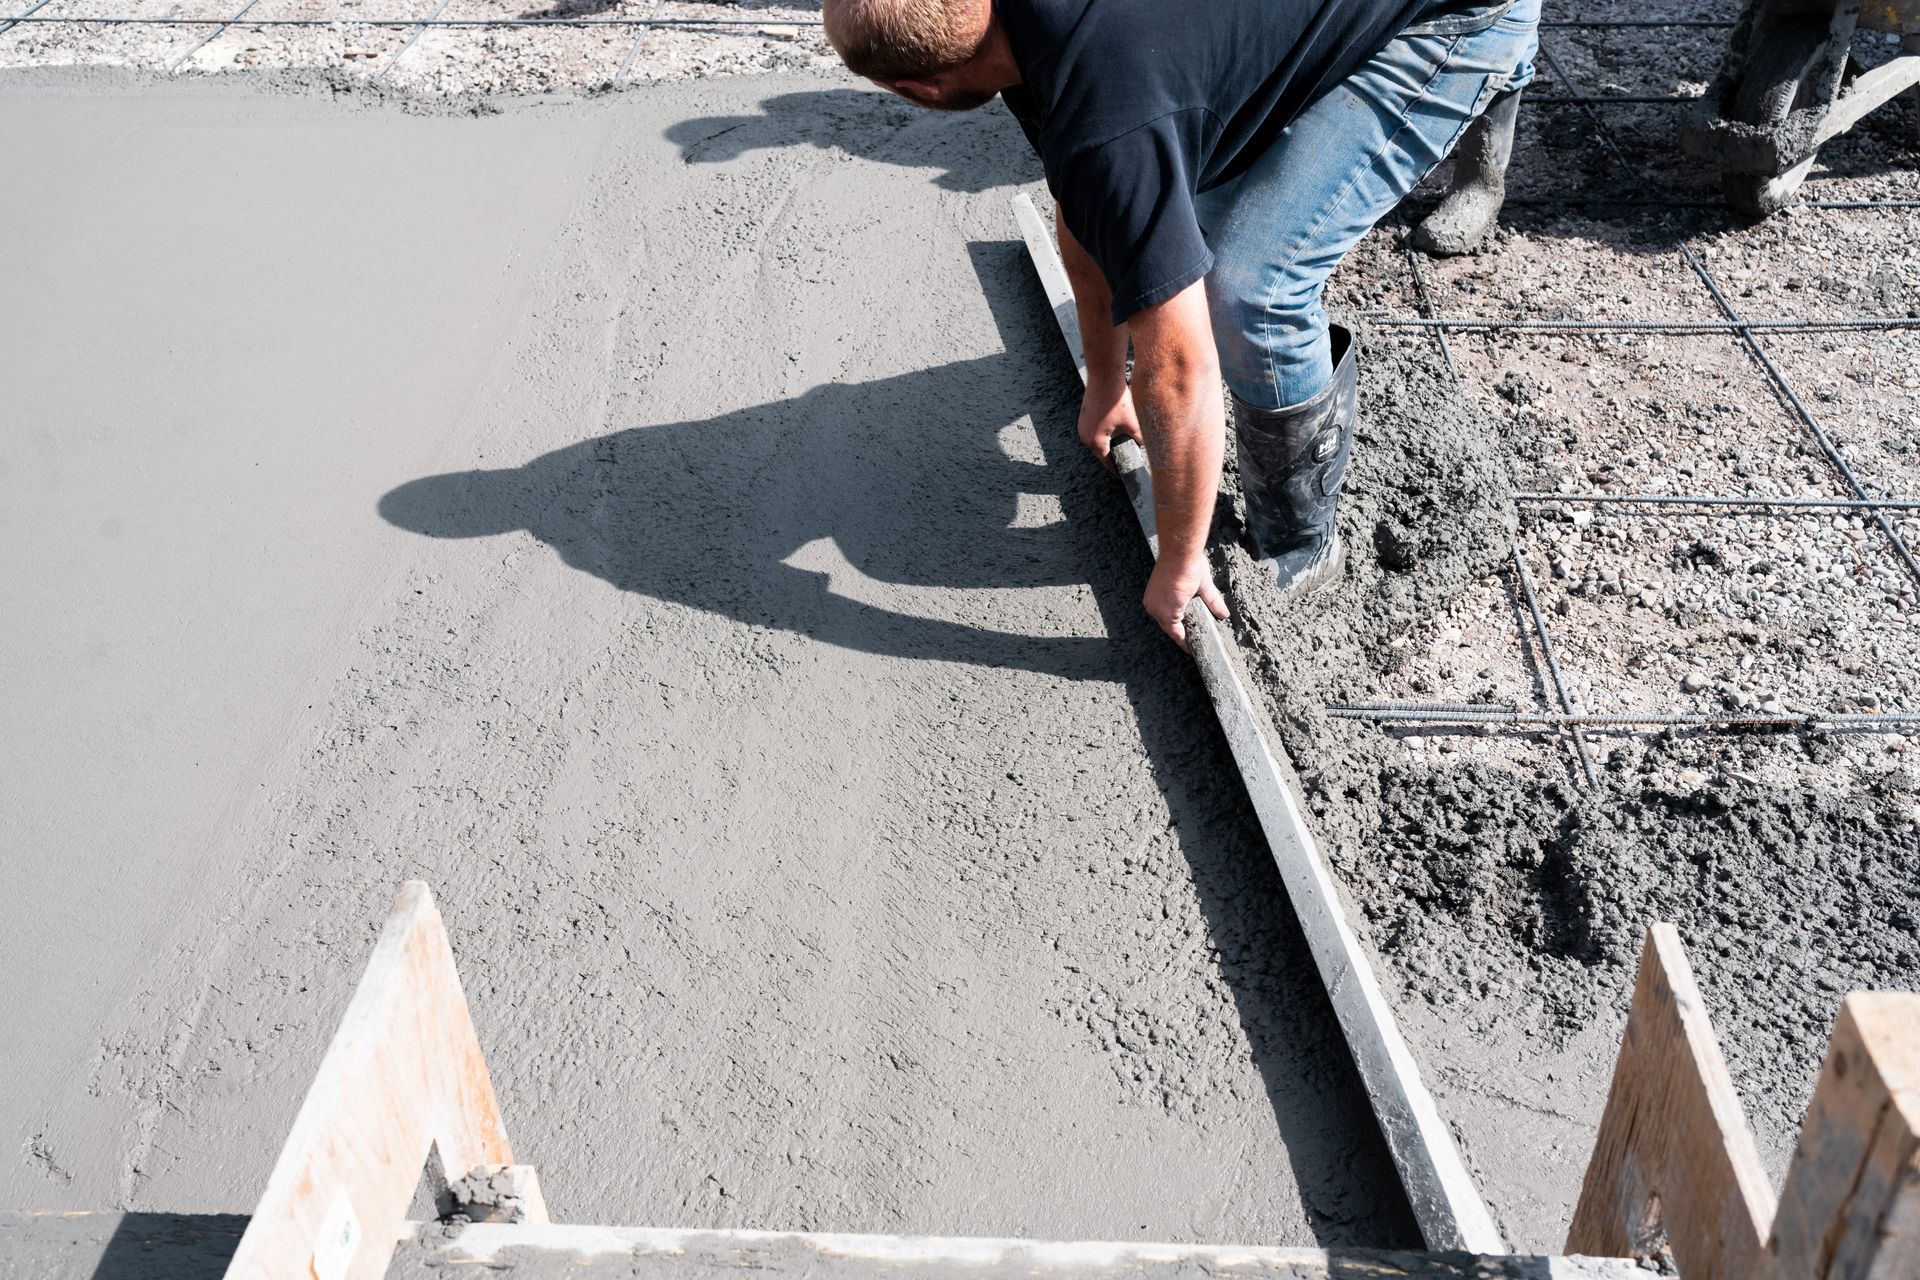
4. Work Efficiently When Pouring
Concrete begins to set quickly, so working efficiently and systematically during the pouring process is crucial. Depending on the size of the patio, you may need assistance from others to ensure the job is completed without delays. Here are some pouring tips:
- Pour in sections: If you’re working with a large patio, divide it into manageable sections by using wooden forms or boards. This will prevent the concrete from drying unevenly and make it easier to manage.
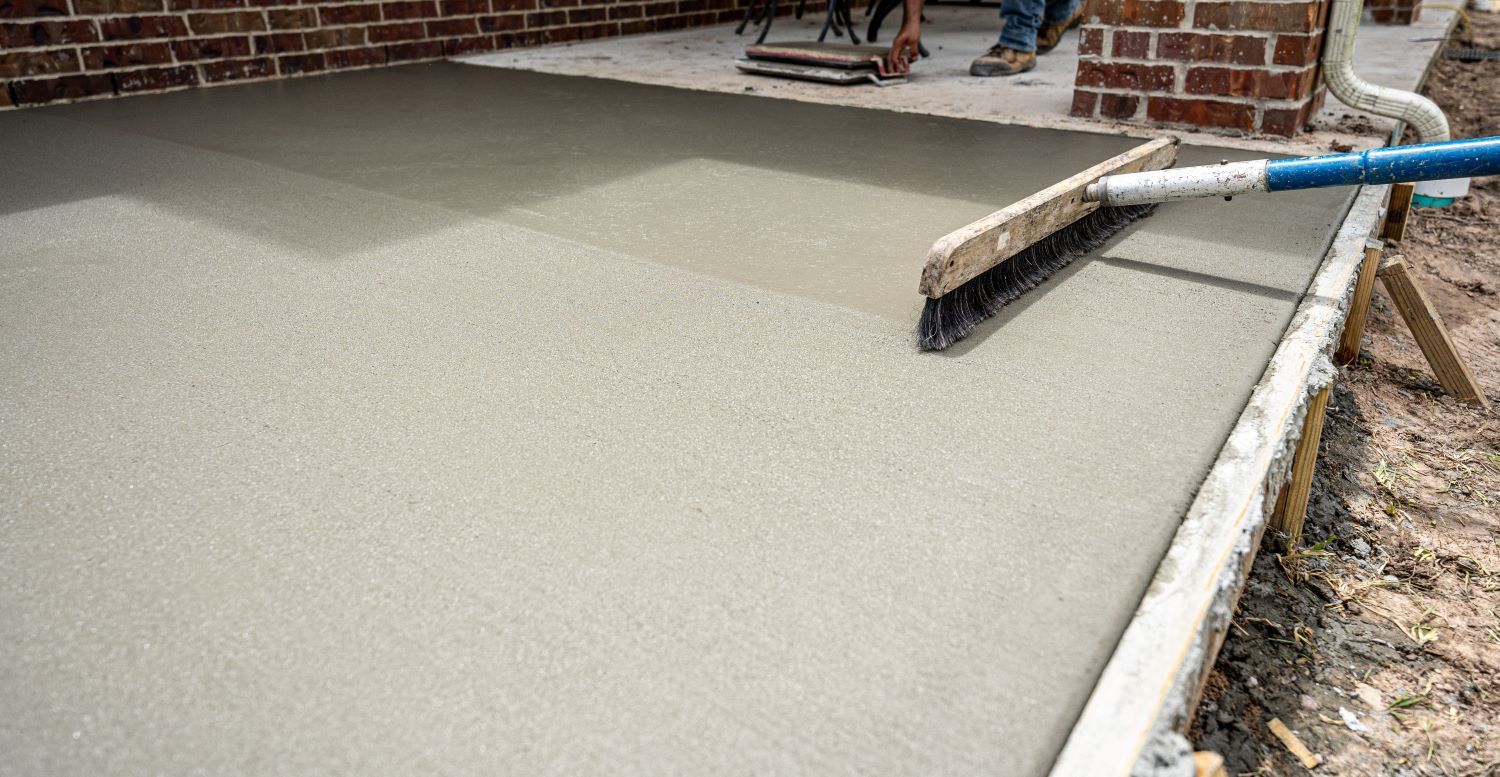
- Use a concrete screed: After pouring, use a screed (a long, straight edge) to level the surface by pulling it across the wet concrete. This step is crucial for creating a smooth, even finish.
- Float the surface: Use a float to smooth the surface and remove imperfections. This process should be done before the concrete fully sets.
5. Don’t Forget to Add Expansion Joints
Expansion joints are essential for preventing cracks caused by the expansion and contraction of concrete due to temperature changes. These joints allow the concrete to shift slightly without cracking under stress.
You can add expansion joints while the concrete is still wet by using a trowel or grooving tool. They should be placed every 8 to 10 feet for a patio and around the perimeter.
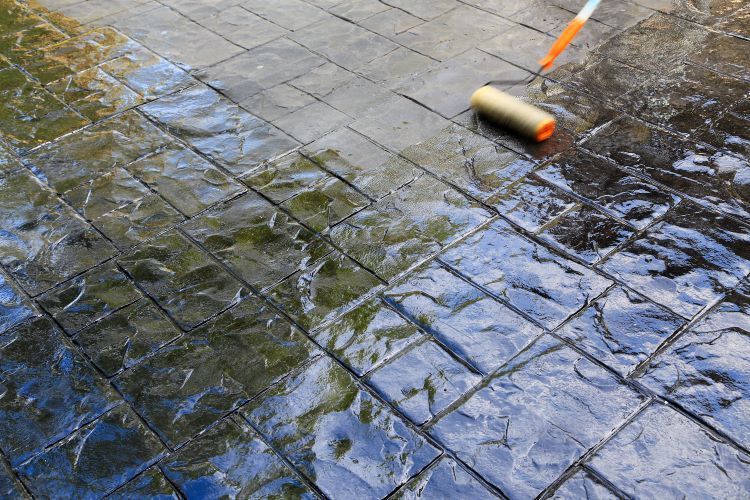
6. Finish and Cure the Concrete Properly
Once your concrete is poured and leveled, it’s time to add any finishing touches to improve its appearance. You can choose from a variety of finishing techniques, such as:
- Broom finish: A broom finish gives the surface a textured look and adds slip resistance, making it ideal for outdoor patios.
- Stamped or stained concrete: For a decorative finish, consider using stamping tools or applying concrete stains to mimic the look of stone, brick, or tile.
After the concrete has been finished, it’s crucial to cure it properly. Curing allows the concrete to harden slowly, increasing its strength and preventing cracks. Cover the surface with plastic sheeting or apply a curing compound to retain moisture. The curing process typically takes 3 to 7 days, depending on the weather conditions.
7. Seal the Patio
Once your patio has fully cured, applying a concrete sealer will protect it from water damage, stains, and wear. Choose a sealer designed for outdoor use, and apply it with a roller or sprayer, ensuring even coverage. Regular resealing every few years will keep your patio looking fresh and protect it from the elements.
Trust the Experts at Concrete Contractors London
Pouring a concrete patio is a complex task that requires planning, precision, and the right materials. By following these expert tips, you can ensure a smooth installation process and a long-lasting, beautiful patio for your home.
At Concrete Contractors London, we specialize in concrete patio installation and offer top-notch services to homeowners in London, Ontario. Whether you’re looking to enhance your outdoor space or need expert advice on your next project, we’re here to help. Contact us today to discuss your patio needs and get a free estimate!