Preparing Your Property for a New Concrete Driveway: What You Need to Know

Installing a new concrete driveway is a significant investment that can greatly enhance the curb appeal and functionality of your property. However, proper preparation is key to ensuring a successful installation that will last for years. Whether you’re replacing an old driveway or installing a new one, taking the time to prepare your property can make all the difference. Here’s what you need to know to get ready for your new concrete driveway.
1. Evaluate the Site
The first step in preparing for a new concrete driveway is evaluating the site where it will be installed. Consider the following factors:
- Soil Condition: The type of soil on your property can affect the stability of your driveway. Poorly drained or unstable soils may require additional preparation, such as soil stabilization or the installation of a sub-base.
- Drainage: Proper drainage is essential to prevent water from pooling on or around your driveway, which can lead to cracks and other damage. Assess the natural drainage patterns on your property and plan for any necessary adjustments.
- Slope and Grading: The slope of your driveway should be carefully planned to allow for proper drainage while maintaining a level surface for vehicles. In some cases, grading or excavation may be necessary to achieve the desired slope.
2. Obtain Necessary Permits
Before any work begins, it’s important to check with your local municipality to determine if you need any permits for the installation of a new concrete driveway. Permit requirements vary by location and may include regulations related to the size, location, and drainage of your driveway. Failing to obtain the necessary permits can result in fines or the need to redo work to comply with local codes.
3. Clear the Area
Once you’ve evaluated the site and obtained any necessary permits, the next step is to clear the area where the driveway will be installed. This may involve:
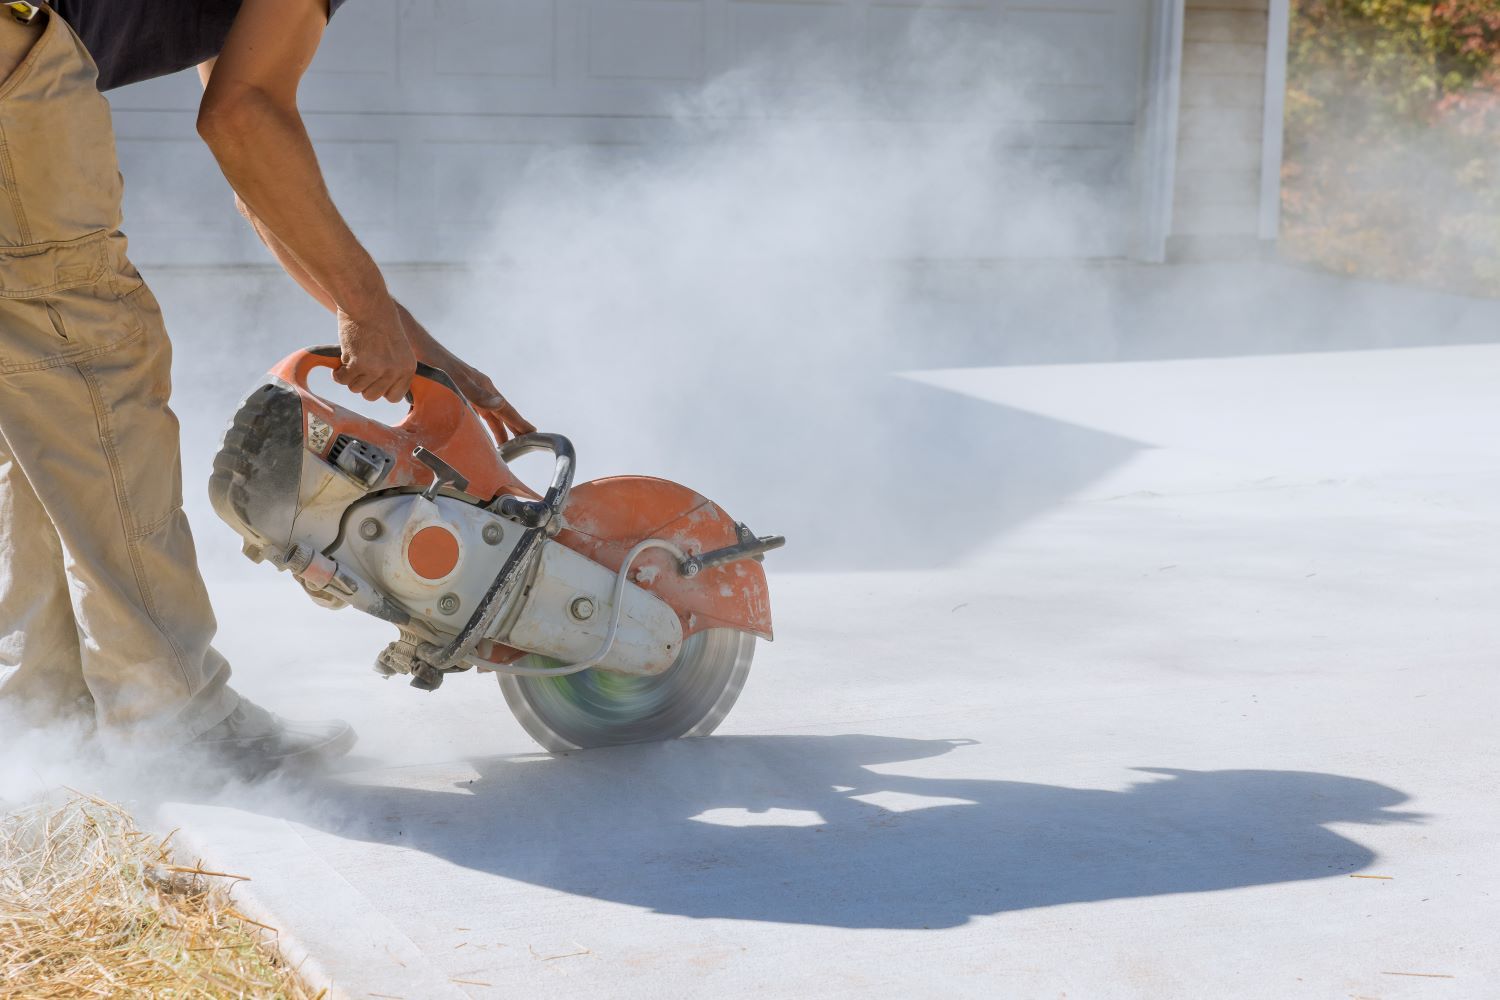
- Removing Existing Driveways: If you’re replacing an old driveway, it will need to be removed before the new one can be installed. This typically involves breaking up and hauling away the old concrete or asphalt.
- Clearing Vegetation: Remove any grass, plants, or trees that are in the way of the new driveway. Tree roots, in particular, can cause problems if left under the driveway, so it’s important to remove them completely.
- Relocating Utilities: If there are any utilities, such as water lines or electrical cables, running under the area where the driveway will be installed, they may need to be relocated to avoid damage during construction.
4. Plan for Drainage
As mentioned earlier, proper drainage is crucial for the longevity of your concrete driveway. During the preparation phase, you should:
- Install Drainage Solutions: Depending on the slope and layout of your property, you may need to install drainage solutions such as French drains, catch basins, or drain tiles to direct water away from the driveway.
- Consider Permeable Concrete: If drainage is a significant concern, consider using permeable concrete for your driveway. This type of concrete allows water to pass through, reducing runoff and helping to manage stormwater.
5. Choose the Right Materials
The materials you choose for your concrete driveway will have a big impact on its durability and appearance. Some considerations include:
- Concrete Mix: Choose a high-quality concrete mix that is appropriate for the climate in London, Ontario. A mix with the right proportions of cement, water, and aggregates will ensure a strong, long-lasting driveway.
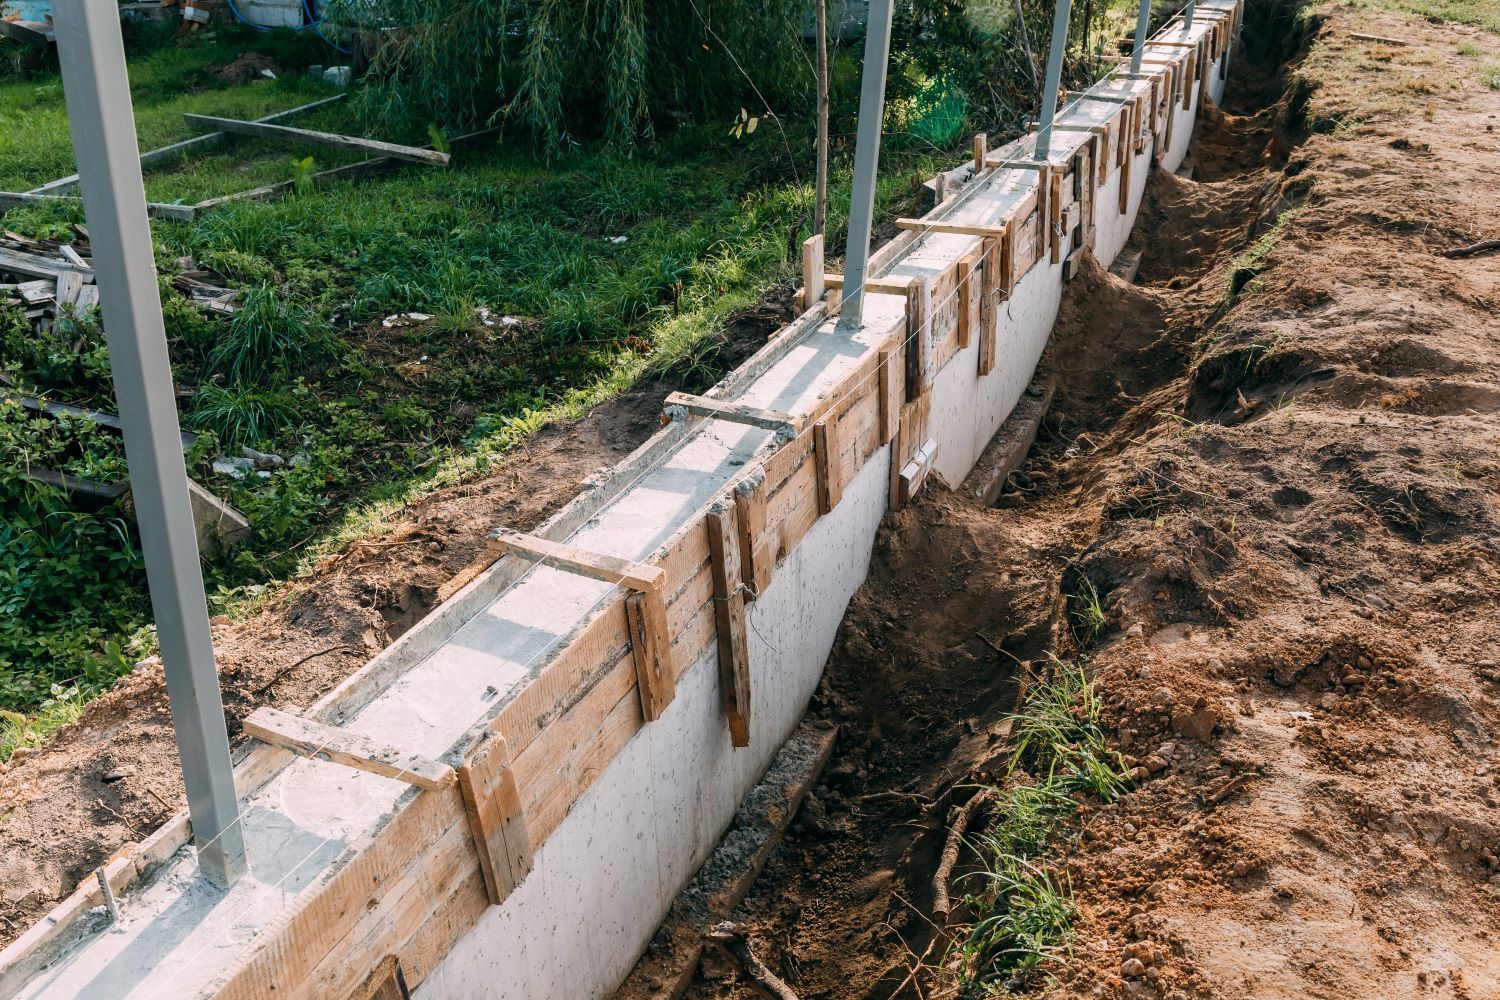
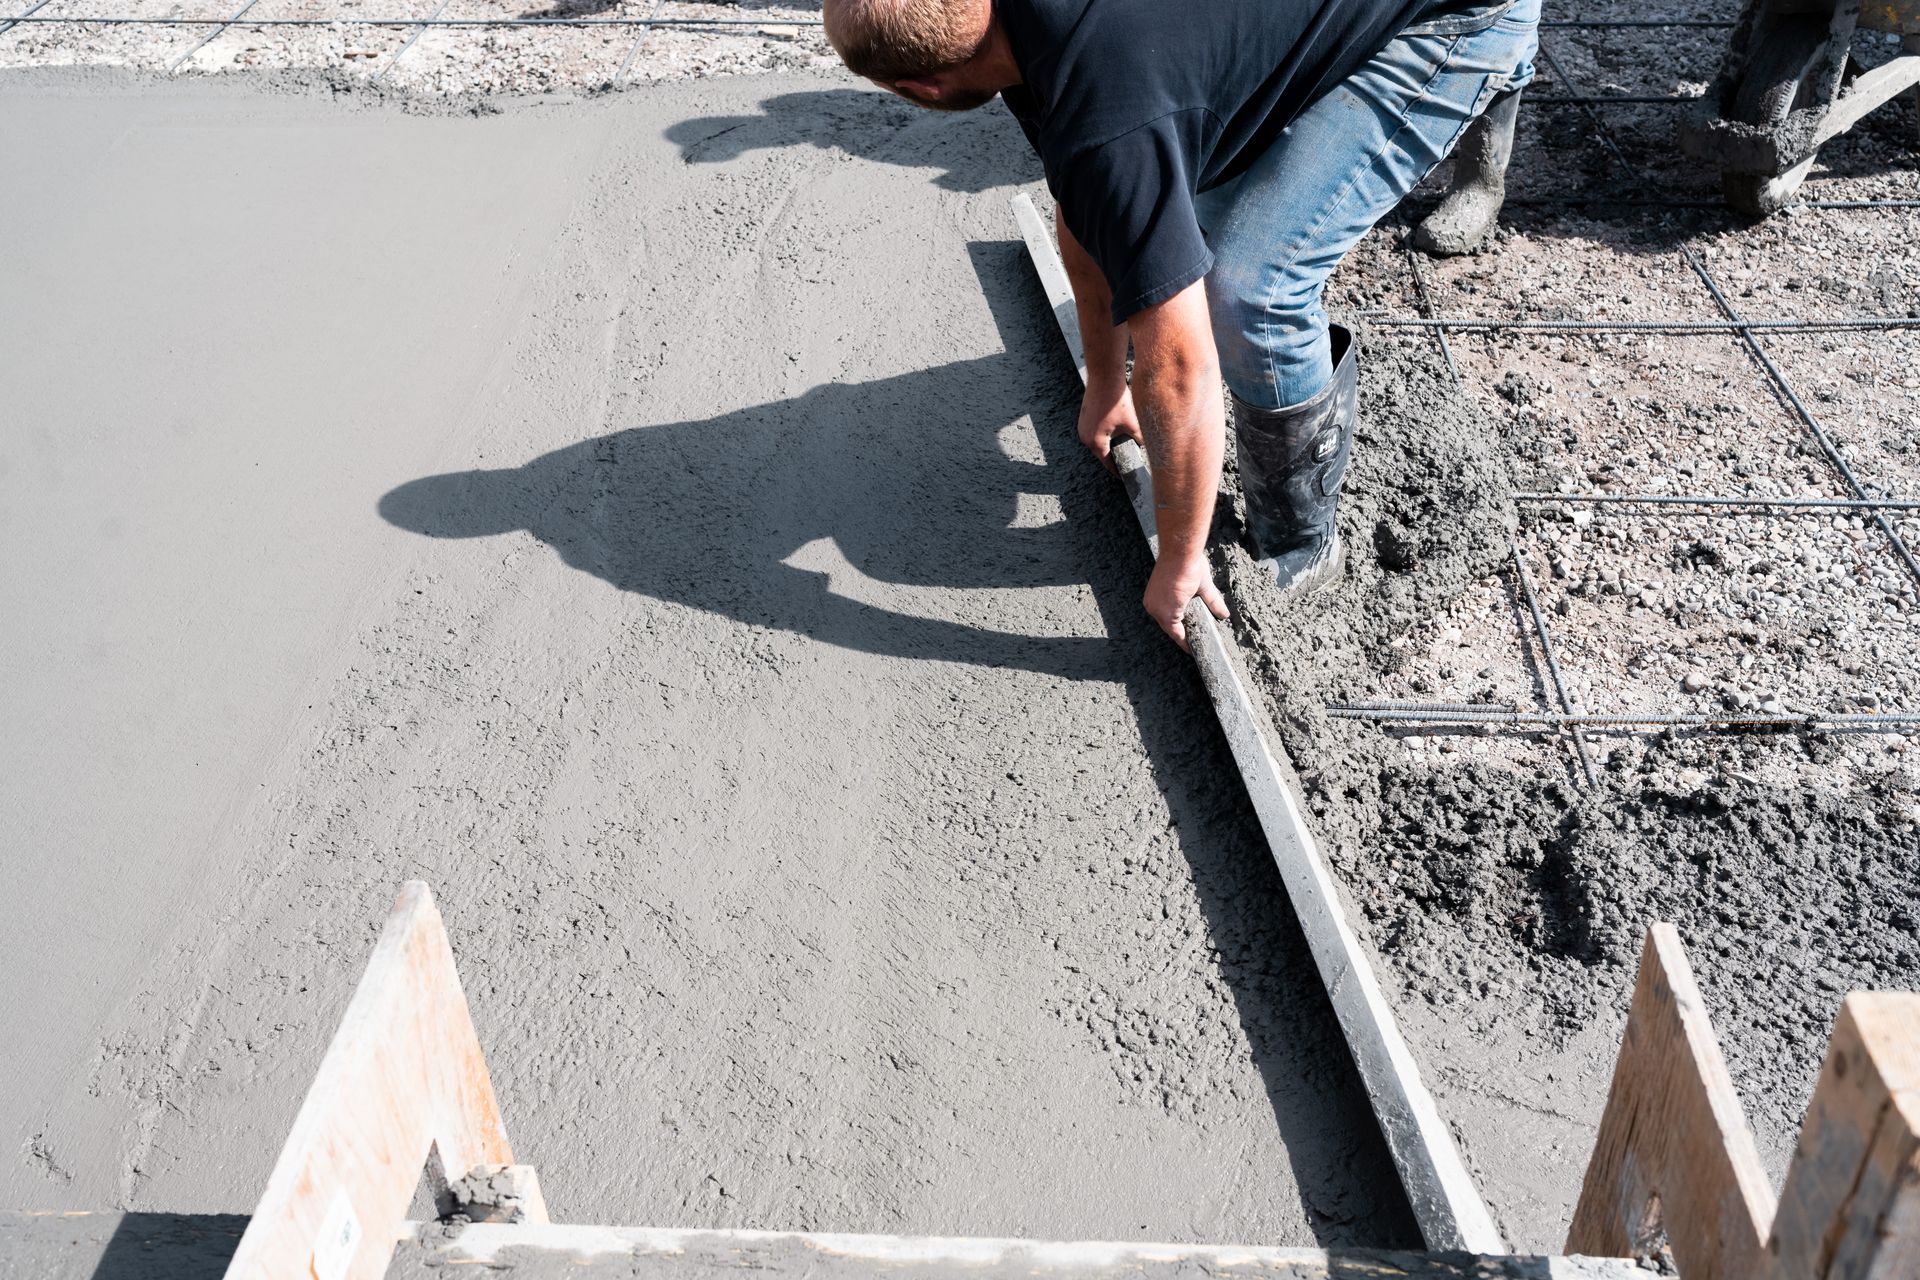
- Reinforcement: Adding reinforcement, such as rebar or wire mesh, to your concrete driveway can help prevent cracking and increase its structural integrity.
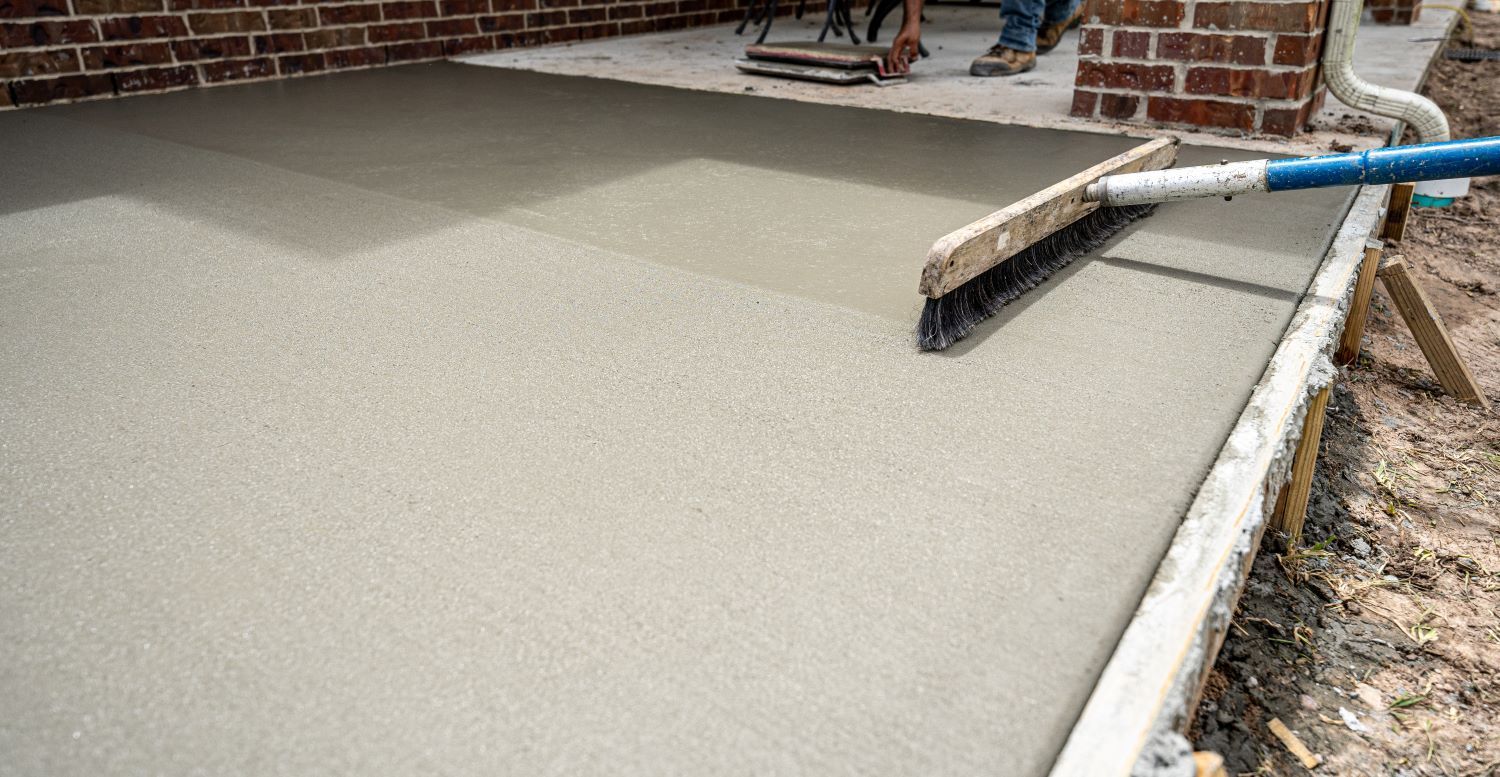
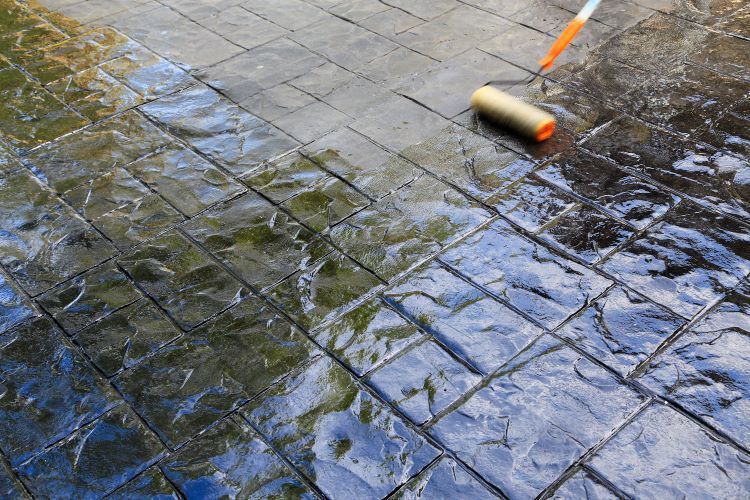
- Finishes and Sealants: Consider the finish you want for your driveway, whether it’s a smooth, brushed, or stamped finish. Additionally, applying a sealant can help protect your driveway from the elements and extend its lifespan.
6. Coordinate with Your Contractor
Effective communication with your contractor is essential throughout the preparation and installation process. Be sure to discuss:
- Timeline: Understand the timeline for the project, including any potential delays due to weather or other factors.
- Access: Plan for how you will access your home during the construction process, especially if the driveway is your primary means of entry.
- Budget: Confirm the cost of the project and any potential additional expenses that may arise during the preparation phase.
7. Prepare for the Curing Process
Once your new concrete driveway is installed, it’s important to allow it to cure properly. This typically involves:
- Avoiding Use: Keep vehicles and heavy equipment off the driveway for at least a week after installation to allow the concrete to set.
- Watering: Lightly misting the concrete with water during the curing process can help prevent cracks and ensure a strong finish.
- Sealing: After the concrete has fully cured, consider applying a sealant to protect it from moisture, chemicals, and other potential sources of damage.
Conclusion
Preparing your property for a new concrete driveway is a crucial step in ensuring a successful and long-lasting installation. By taking the time to evaluate the site, obtain permits, clear the area, plan for drainage, choose the right materials, and coordinate with your contractor, you can achieve a driveway that enhances the beauty and functionality of your home.
At Concrete Contractors London, we’re here to help you every step of the way. Contact us today to discuss your project and learn more about our expert driveway installation services.