How to Repair Concrete Surfaces for a Like-New Finish
Concrete surfaces are known for their durability and long lifespan, but over time, even the toughest concrete can show signs of wear and tear. Cracks, spalling, and discoloration are common issues that can detract from the appearance and functionality of your concrete surfaces. Fortunately, with the right repair techniques, you can restore your concrete to a like-new finish. In this article, we’ll explore the steps involved in repairing concrete surfaces and how you can achieve professional results for your London, Ontario property.
1. Assessing the Damage
Before you begin any repair work, it’s essential to assess the extent of the damage to your concrete surface. Different types of damage require different repair methods:
- Cracks: Small cracks can be caused by shrinkage, settling, or temperature changes. If left untreated, they can widen and lead to more significant issues.
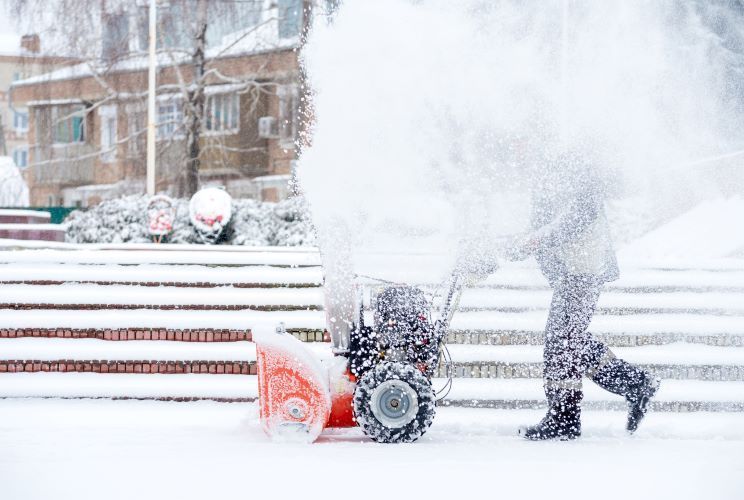
- Spalling: This occurs when the surface of the concrete begins to flake or chip away. It’s often caused by freeze-thaw cycles, moisture penetration, or improper finishing techniques.
- Discoloration: Stains and discoloration can result from exposure to chemicals, water, or UV rays, affecting the appearance of the concrete.
Once you’ve identified the specific issues, you can choose the appropriate repair methods.
2. Preparing the Surface
Proper surface preparation is crucial for ensuring that your repairs bond effectively with the existing concrete. Follow these steps to prepare your surface:
- Clean the Surface: Remove any dirt, debris, or loose material from the area using a pressure washer or a stiff brush. For oily or greasy surfaces, use a concrete cleaner to ensure a clean base for the repair.
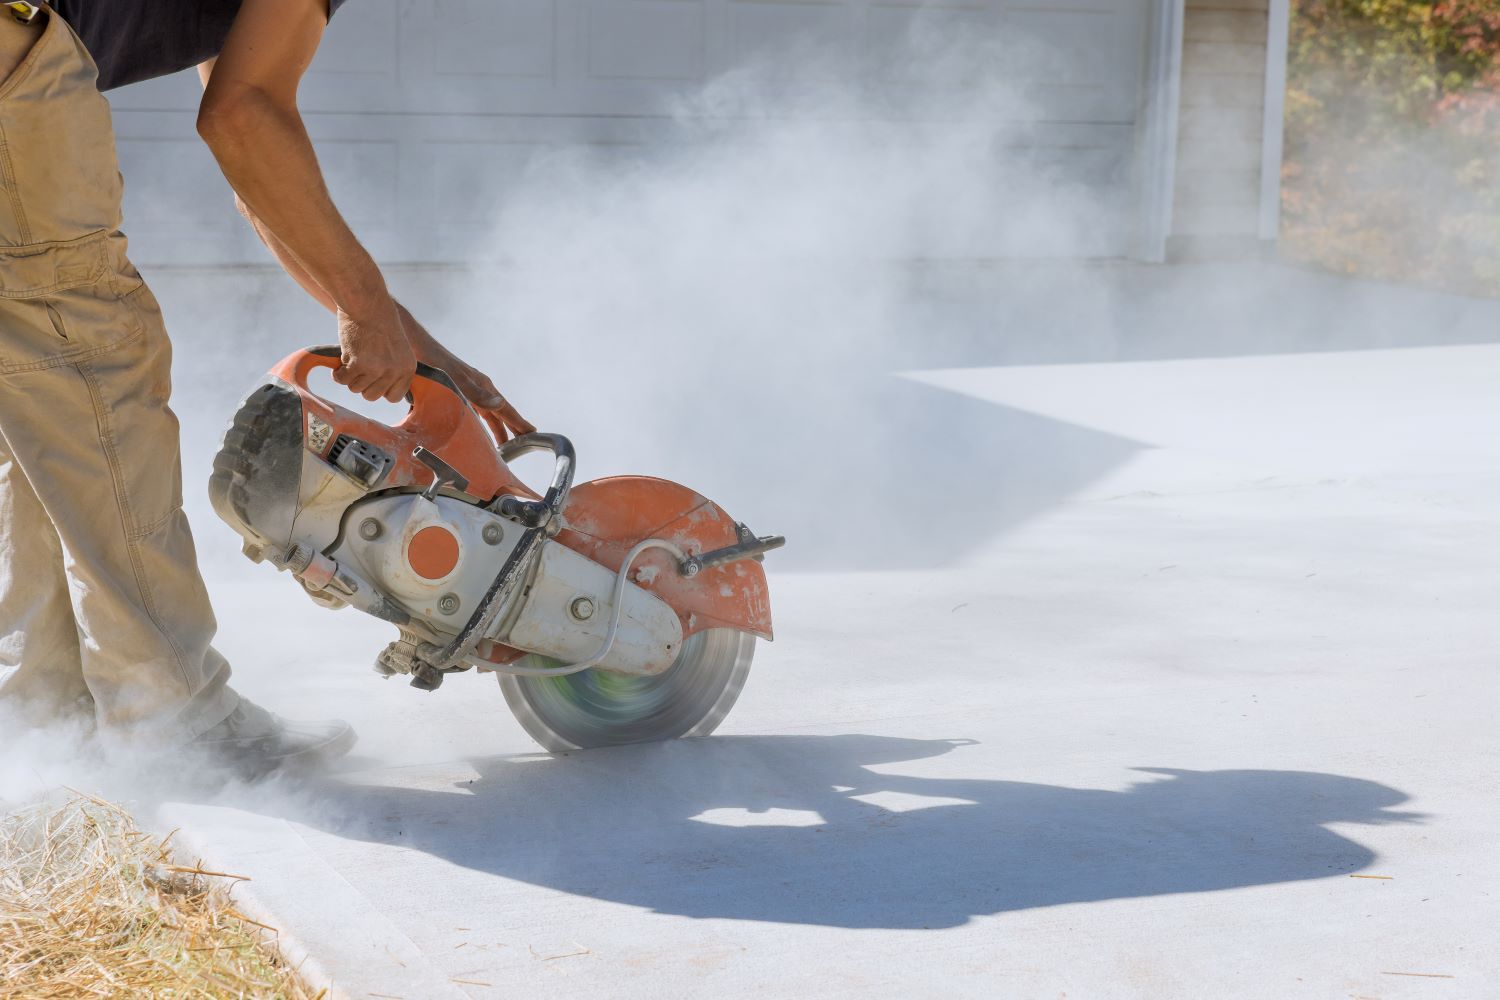
- Remove Damaged Concrete: For larger cracks or spalled areas, use a chisel and hammer or an angle grinder to remove any loose or damaged concrete. This will create a stable base for the new material.
- Undercut the Edges: When repairing cracks or spalling, undercutting the edges of the damaged area can help the repair material bond more securely to the existing concrete.
3. Choosing the Right Repair Material
Selecting the right repair material is key to achieving a long-lasting, like-new finish. There are several options to consider:
- Concrete Patching Compound: For small cracks and surface imperfections, a concrete patching compound is an effective solution. These compounds are easy to apply and can be smoothed to match the surrounding surface.
- Epoxy or Polyurethane Sealers: These materials are ideal for filling larger cracks or expansion joints. They offer excellent adhesion and flexibility, making them suitable for areas that experience movement or temperature fluctuations.
- Resurfacing Products: For extensive damage or widespread surface deterioration, a concrete resurfacer can provide a fresh, uniform finish. These products are applied as a thin overlay and can restore the appearance of the entire surface.
4. Applying the Repair Material
Once your surface is prepared and you’ve selected the appropriate repair material, it’s time to apply it:
- Mix the Material: Follow the manufacturer’s instructions to mix your chosen repair material. Ensure that it’s well-blended and free of lumps.
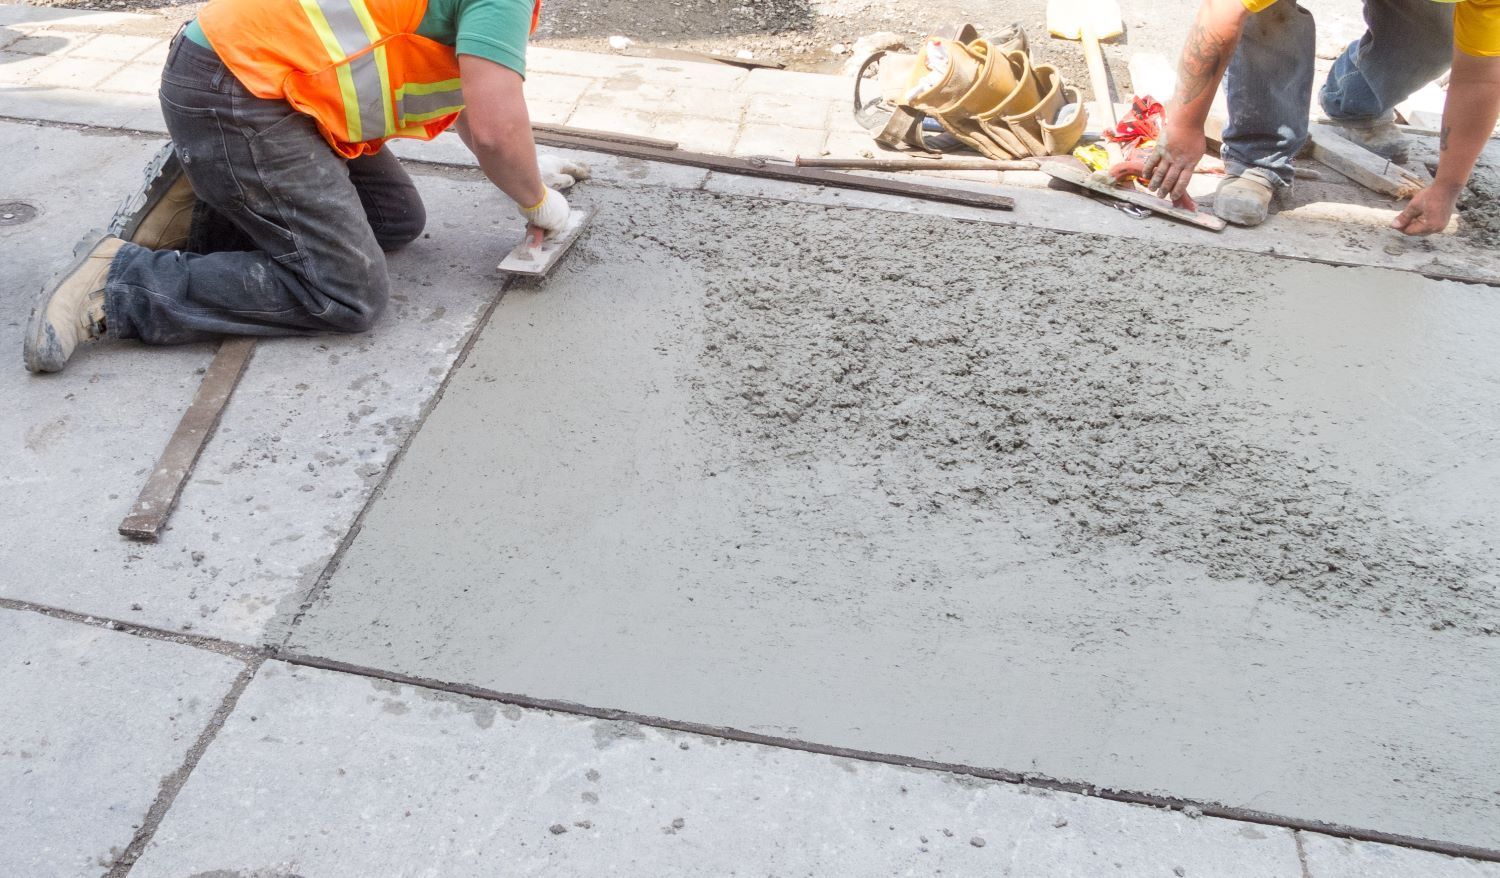
- Apply the Material: Use a trowel or putty knife to apply the material to the damaged area. For cracks, ensure the material is forced deep into the crack to create a solid repair. For spalled areas, spread the material evenly, feathering the edges to blend with the surrounding surface.
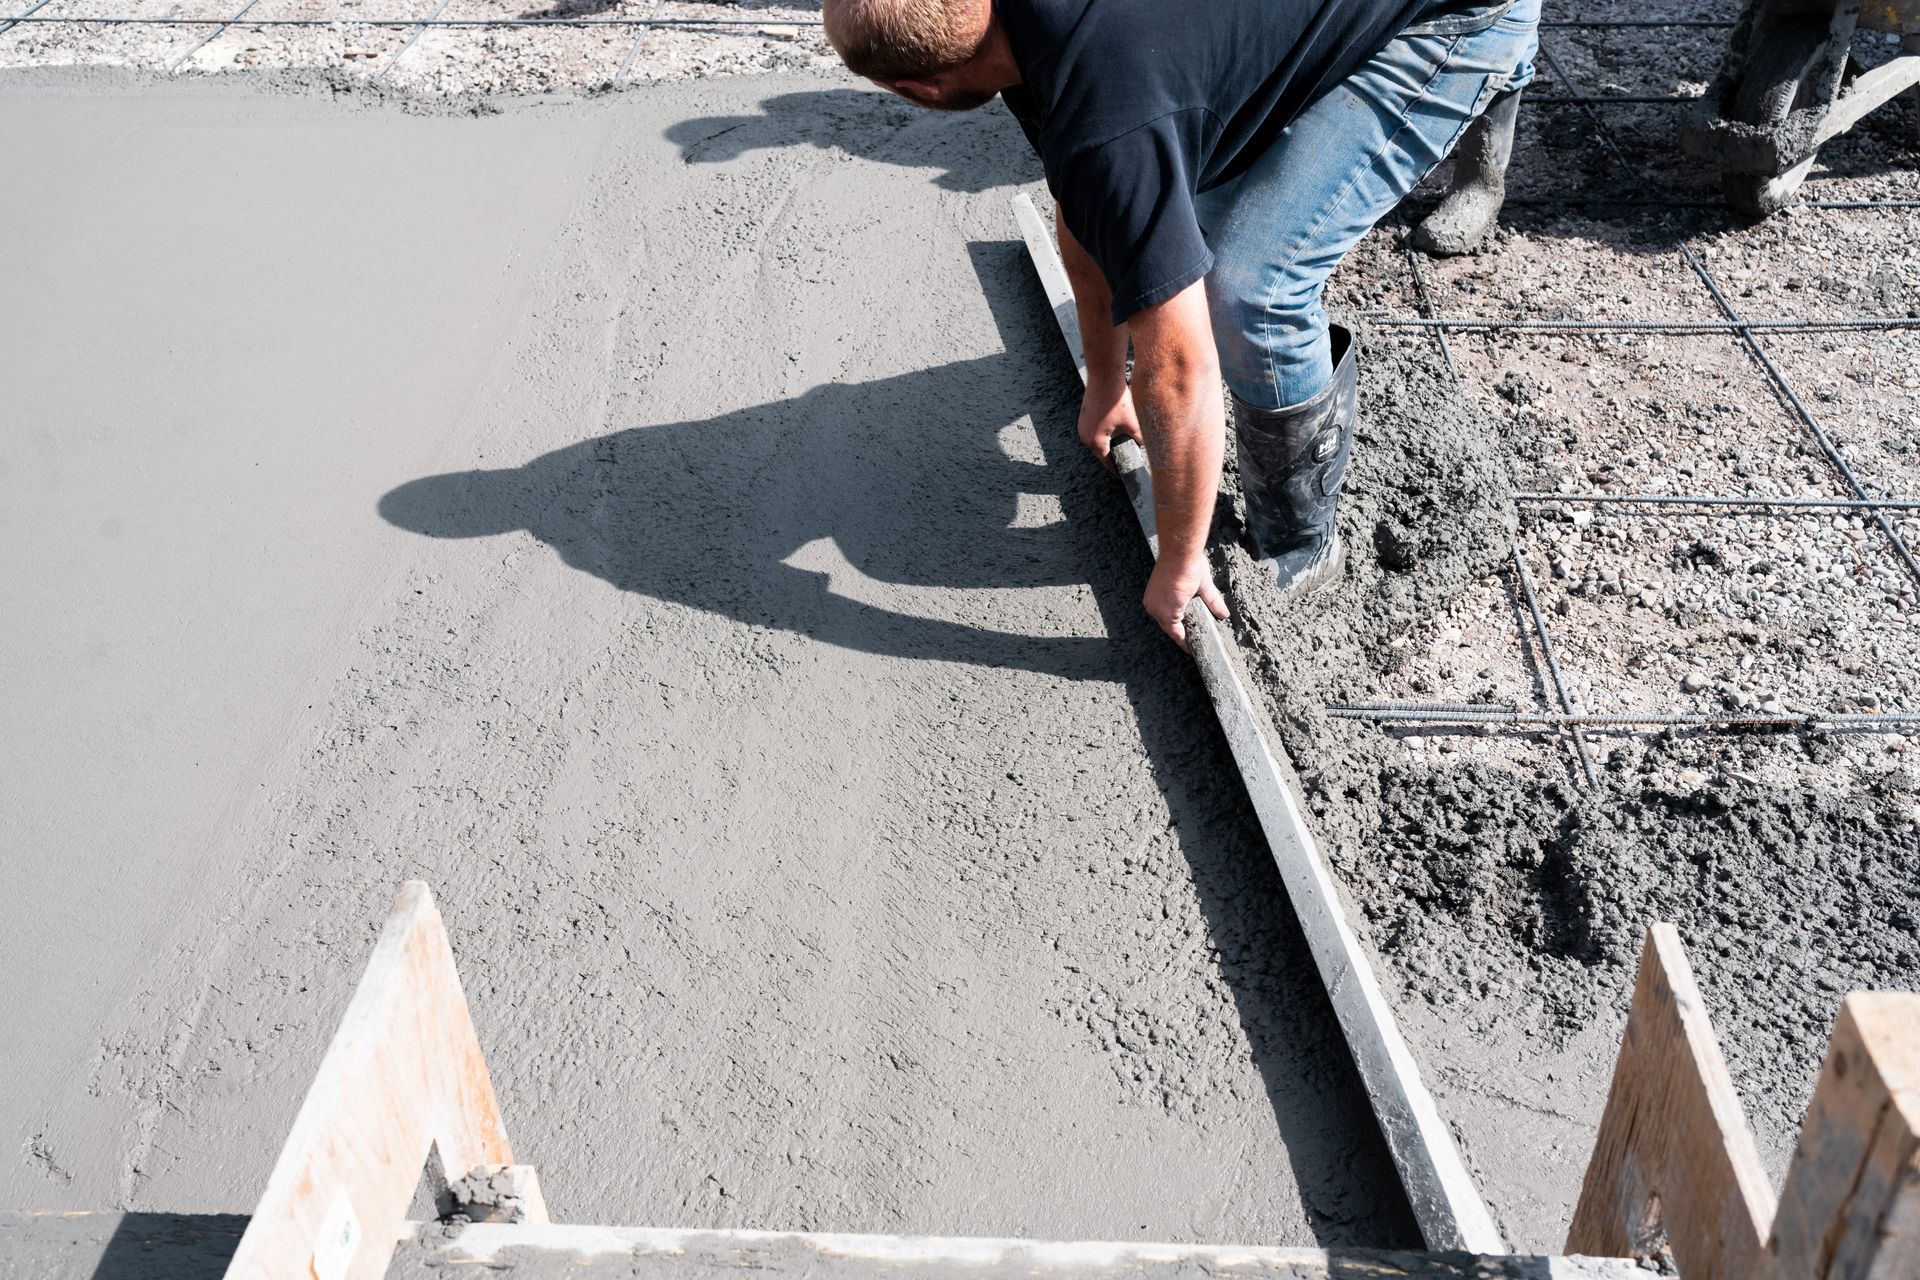
- Smooth and Level: After applying the material, smooth it with a trowel to match the existing surface texture. For larger areas, use a straightedge to level the repair and remove excess material.
5. Finishing Touches
To achieve a like-new finish, take care with the final steps of the repair process:
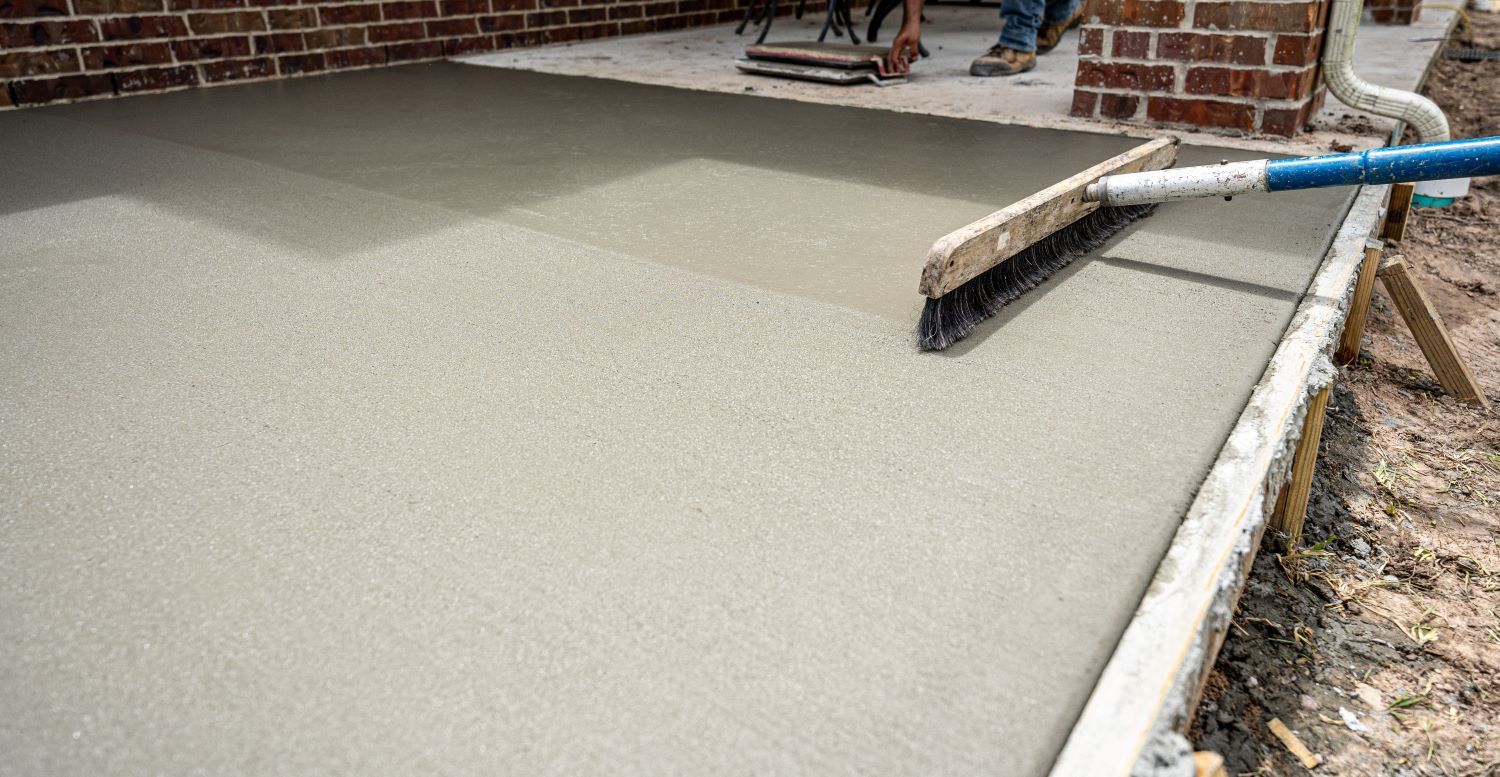
- Texturing: If the repaired area has a different texture than the surrounding concrete, use a brush or broom to match the surface texture before the material fully cures.
- Curing: Proper curing is essential for the durability of the repair. Keep the area moist and covered for the recommended curing time, typically 24 to 48 hours, depending on the product used.
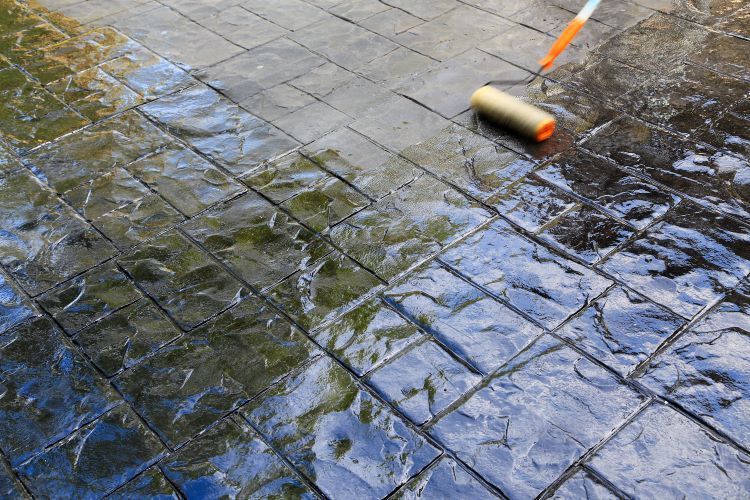
- Sealing: Once the repair has fully cured, consider applying a concrete sealer to protect the surface from future damage. Sealers can also enhance the appearance of the concrete by providing a uniform finish and added sheen.
6. Maintaining Your Repaired Concrete
To extend the life of your repaired concrete surface, regular maintenance is key:
- Clean Regularly: Keep the surface free of debris, dirt, and chemicals that could cause further damage.
- Inspect Annually: Regularly inspect your concrete surfaces for signs of new damage or wear. Early detection allows for prompt repairs and prevents minor issues from becoming major problems.
- Reapply Sealant: Depending on the type of sealer used, reapply it every few years to maintain protection and appearance.
Conclusion
Repairing concrete surfaces doesn’t have to be a daunting task. With the right approach and materials, you can restore your concrete to a like-new finish that enhances the beauty and functionality of your property. If you’re looking for professional assistance, the experts at Concrete Contractors London are here to help.
Contact us today to learn more about our concrete repair services and how we can help you maintain the quality and appearance of your concrete surfaces.